What is Root or Root Access to an Android device
Root access on an Android device is similar to administrator access on a computer (Access as Root user in an Android device). It gives you complete control over your device’s operating system, allowing you to:
- modify system files
- install custom software.
- perform actions that are otherwise restricted by the manufacturer.
Default, the EndUser doesn’t have the access permission as Root user in an Android devices. For instances, I use ADB command to access to devices and try to switch to Root user, but I can NOT do that step.
If you don’t know ADB command, you can refer to these documents:
- ADB command from Android developer: https://developer.android.com/tools/adb
- ADB command in my blog: https://josdoaitran.github.io/testing4everyone-ht-install-adb-command-in-mac/
Why we need to have a rooted Android device in testing ?
In certain cases, testing is necessary to ensure your application prevents installation and execution on compromised devices. Rooted devices, which often have altered default configurations, are considered insecure. Utilizing a rooted device can facilitate testing in this specific test scenario.
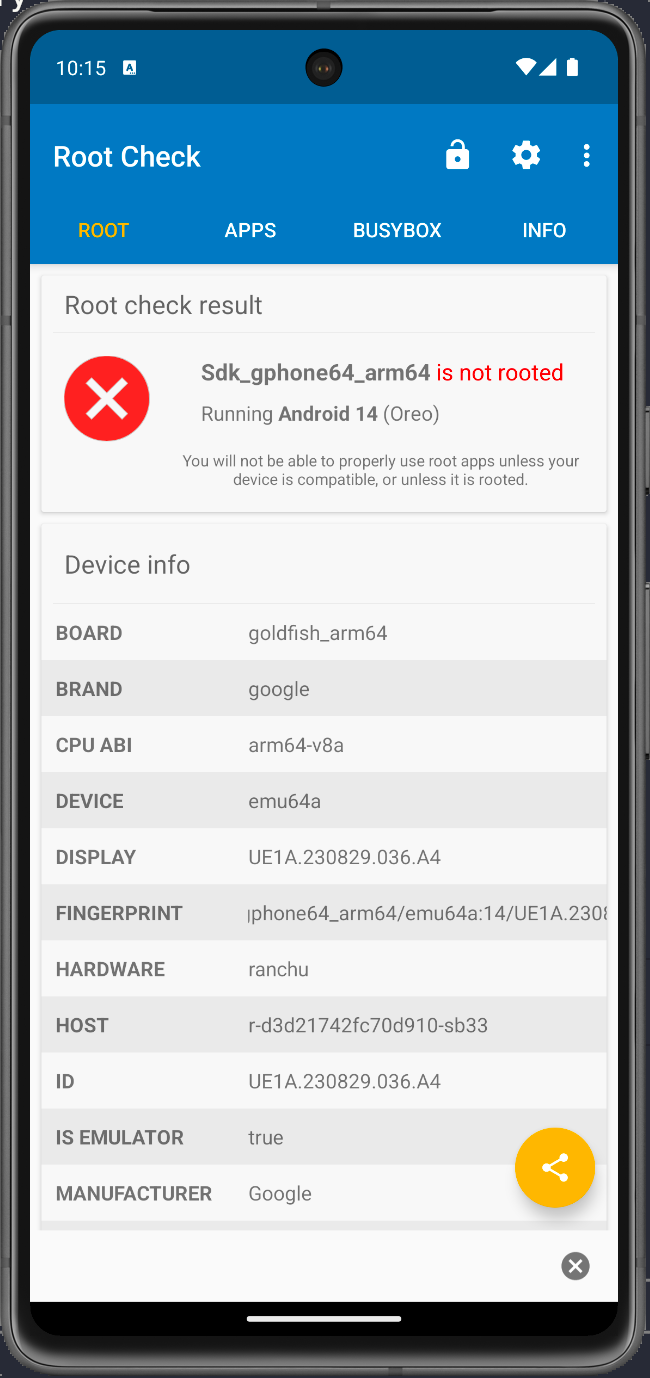
How to check a device is rooted or not ?
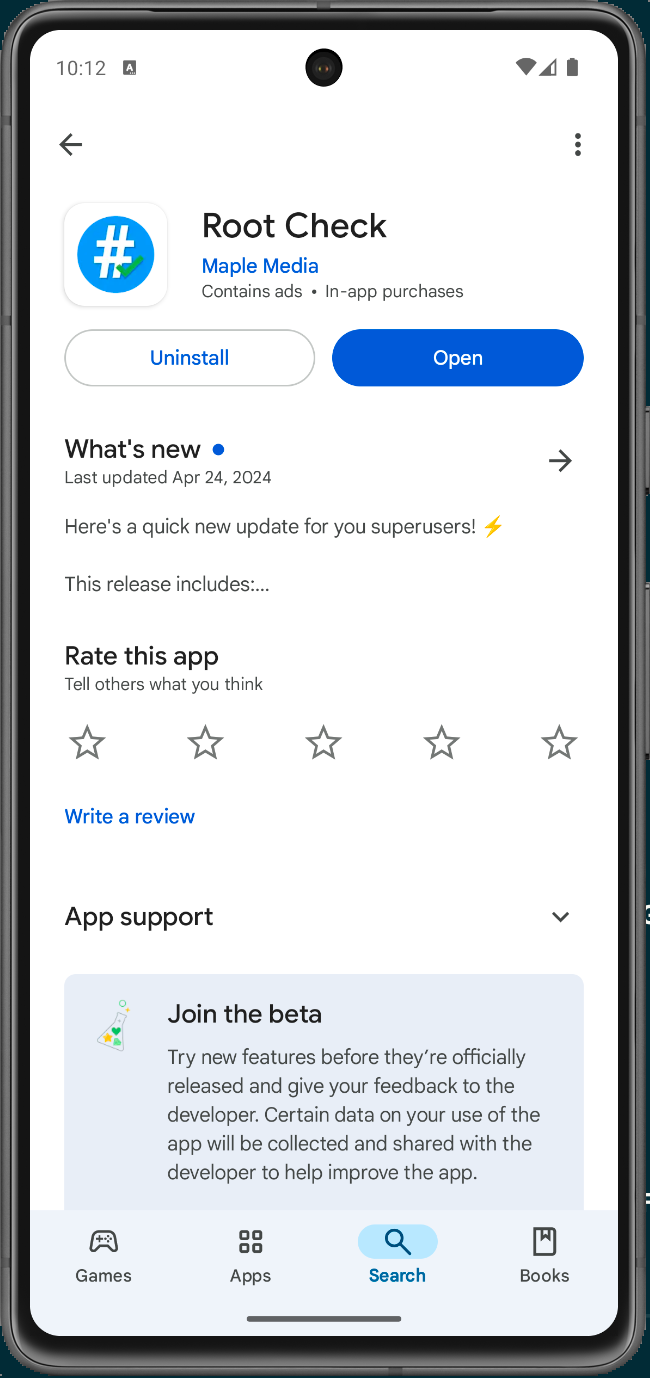
Root check app in Android device Link:Here
Or Searching: Root app in Google Store.
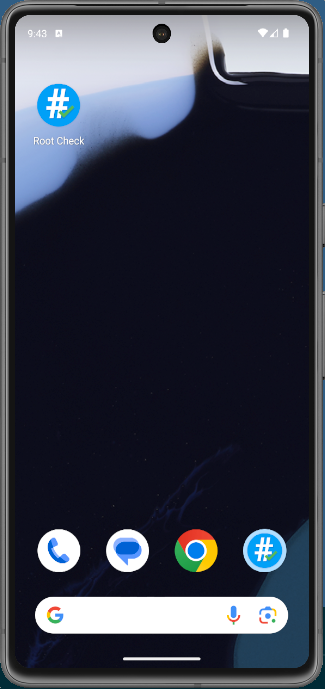
Root checker in Home screen
How to root an Android device ?
We use RootAVD to root an Android device: https://gitlab.com/newbit/rootAVD
Step 1 - Clone AVD into your computer
Run this command in your computer to clone source code of RootAVD (Precondition, you need to install Git in your computer)
git clone https://gitlab.com/newbit/rootAVD.git
Result:
Cloning into 'rootAVD'...
remote: Enumerating objects: 563, done.
remote: Counting objects: 100% (50/50), done.
remote: Compressing objects: 100% (38/38), done.
remote: Total 563 (delta 31), reused 21 (delta 12), pack-reused 513 (from 1)
Receiving objects: 100% (563/563), 72.46 MiB | 23.04 MiB/s, done.
Resolving deltas: 100% (343/343), done.
Step 2 - Run ADV script to list all AVDs
- Open rootAVD folder, and run rootAVD script.
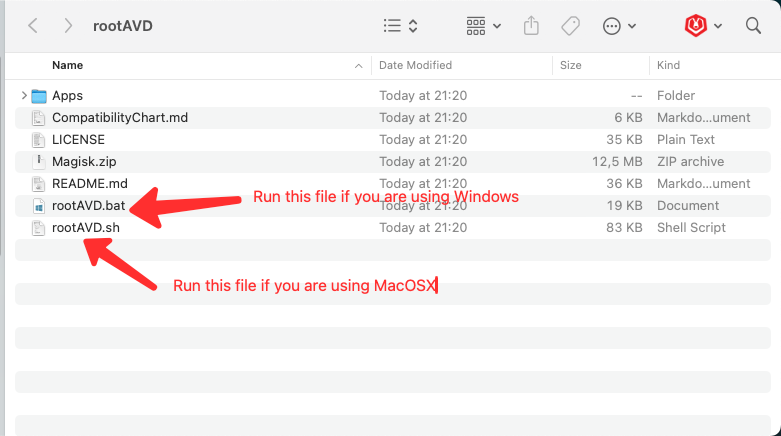
- Run rootAvd script to listAllAVDs
sh rootAVD.sh ListAllAVDs
We will receive the list of available AVD, such as:
./rootAVD.sh ListAllAVDs
./rootAVD.sh InstallApps

./rootAVD.sh system-images/android-Baklava/google_apis_playstore/arm64-v8a/ramdisk.img
./rootAVD.sh system-images/android-Baklava/google_apis_playstore/arm64-v8a/ramdisk.img FAKEBOOTIMG
./rootAVD.sh system-images/android-Baklava/google_apis_playstore/arm64-v8a/ramdisk.img DEBUG PATCHFSTAB GetUSBHPmodZ
./rootAVD.sh system-images/android-Baklava/google_apis_playstore/arm64-v8a/ramdisk.img restore
./rootAVD.sh system-images/android-Baklava/google_apis_playstore/arm64-v8a/ramdisk.img InstallKernelModules
./rootAVD.sh system-images/android-Baklava/google_apis_playstore/arm64-v8a/ramdisk.img InstallPrebuiltKernelModules
./rootAVD.sh system-images/android-Baklava/google_apis_playstore/arm64-v8a/ramdisk.img InstallPrebuiltKernelModules GetUSBHPmodZ PATCHFSTAB DEBUG
./rootAVD.sh system-images/android-Baklava/google_apis_playstore/arm64-v8a/ramdisk.img AddRCscripts

./rootAVD.sh system-images/android-34/google_apis/arm64-v8a/ramdisk.img
./rootAVD.sh system-images/android-34/google_apis/arm64-v8a/ramdisk.img FAKEBOOTIMG
./rootAVD.sh system-images/android-34/google_apis/arm64-v8a/ramdisk.img DEBUG PATCHFSTAB GetUSBHPmodZ
./rootAVD.sh system-images/android-34/google_apis/arm64-v8a/ramdisk.img restore
./rootAVD.sh system-images/android-34/google_apis/arm64-v8a/ramdisk.img InstallKernelModules
./rootAVD.sh system-images/android-34/google_apis/arm64-v8a/ramdisk.img InstallPrebuiltKernelModules
./rootAVD.sh system-images/android-34/google_apis/arm64-v8a/ramdisk.img InstallPrebuiltKernelModules GetUSBHPmodZ PATCHFSTAB DEBUG
./rootAVD.sh system-images/android-34/google_apis/arm64-v8a/ramdisk.img AddRCscripts

./rootAVD.sh system-images/android-34/google_apis_playstore/arm64-v8a/ramdisk.img
./rootAVD.sh system-images/android-34/google_apis_playstore/arm64-v8a/ramdisk.img FAKEBOOTIMG
./rootAVD.sh system-images/android-34/google_apis_playstore/arm64-v8a/ramdisk.img DEBUG PATCHFSTAB GetUSBHPmodZ
./rootAVD.sh system-images/android-34/google_apis_playstore/arm64-v8a/ramdisk.img restore
./rootAVD.sh system-images/android-34/google_apis_playstore/arm64-v8a/ramdisk.img InstallKernelModules
./rootAVD.sh system-images/android-34/google_apis_playstore/arm64-v8a/ramdisk.img InstallPrebuiltKernelModules
./rootAVD.sh system-images/android-34/google_apis_playstore/arm64-v8a/ramdisk.img InstallPrebuiltKernelModules GetUSBHPmodZ PATCHFSTAB DEBUG
./rootAVD.sh system-images/android-34/google_apis_playstore/arm64-v8a/ramdisk.img AddRCscripts
Step 3 - Choose the proper AVD for your device
You should check your device version to choose the proper version
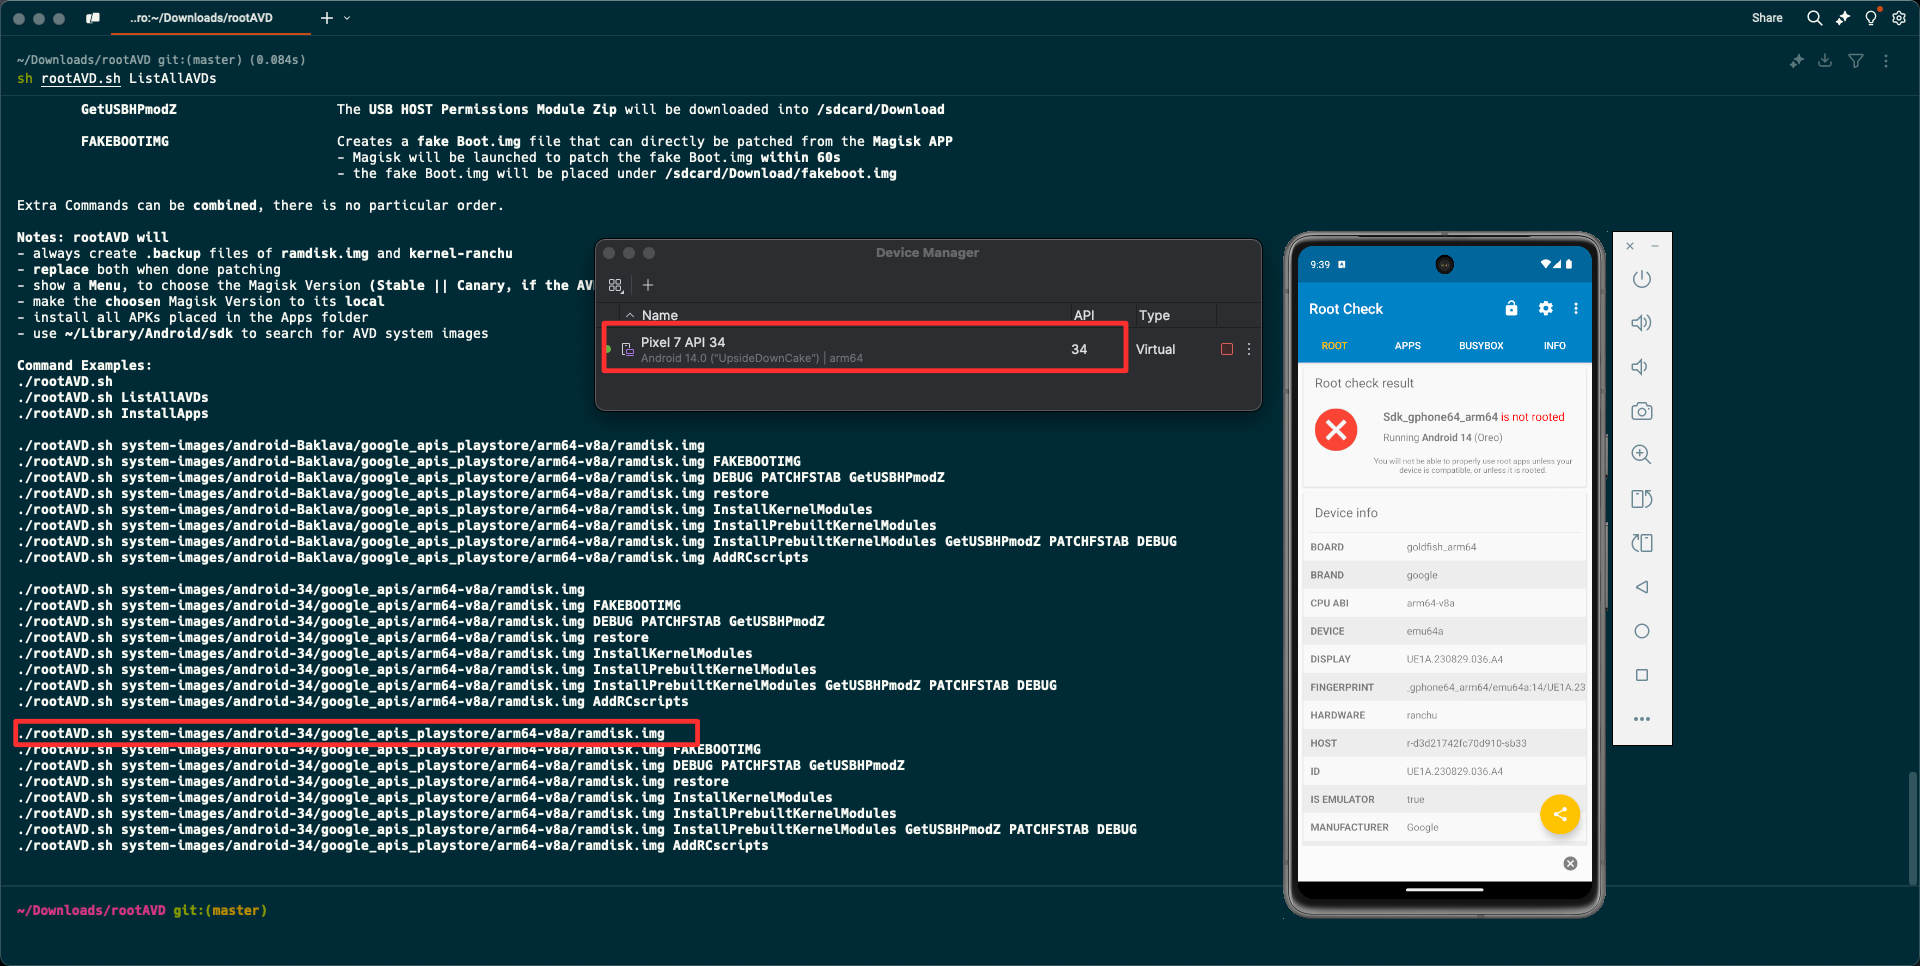
I am using an Android device with SDK 34 so that I run this command:
./rootAVD.sh system-images/android-34/google_apis_playstore/arm64-v8a/ramdisk.img
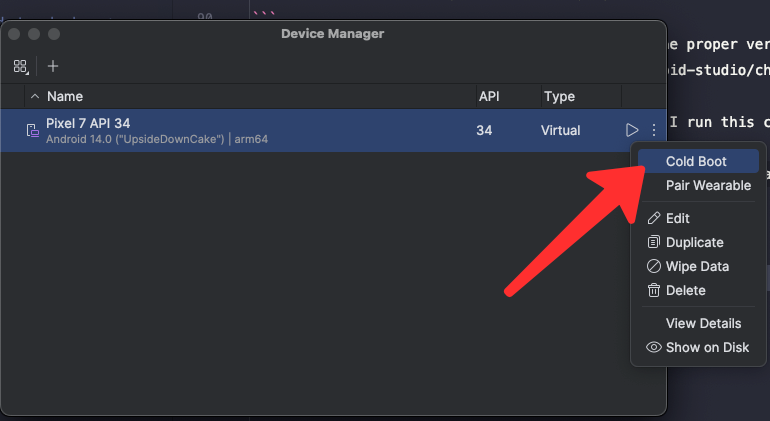
Step 4 - Cold Boot your device
Your android devices will be shutdown automatically.
Then, we need to cold boot for our Android device.
You can dismiss the notification on your device during the cold boot.
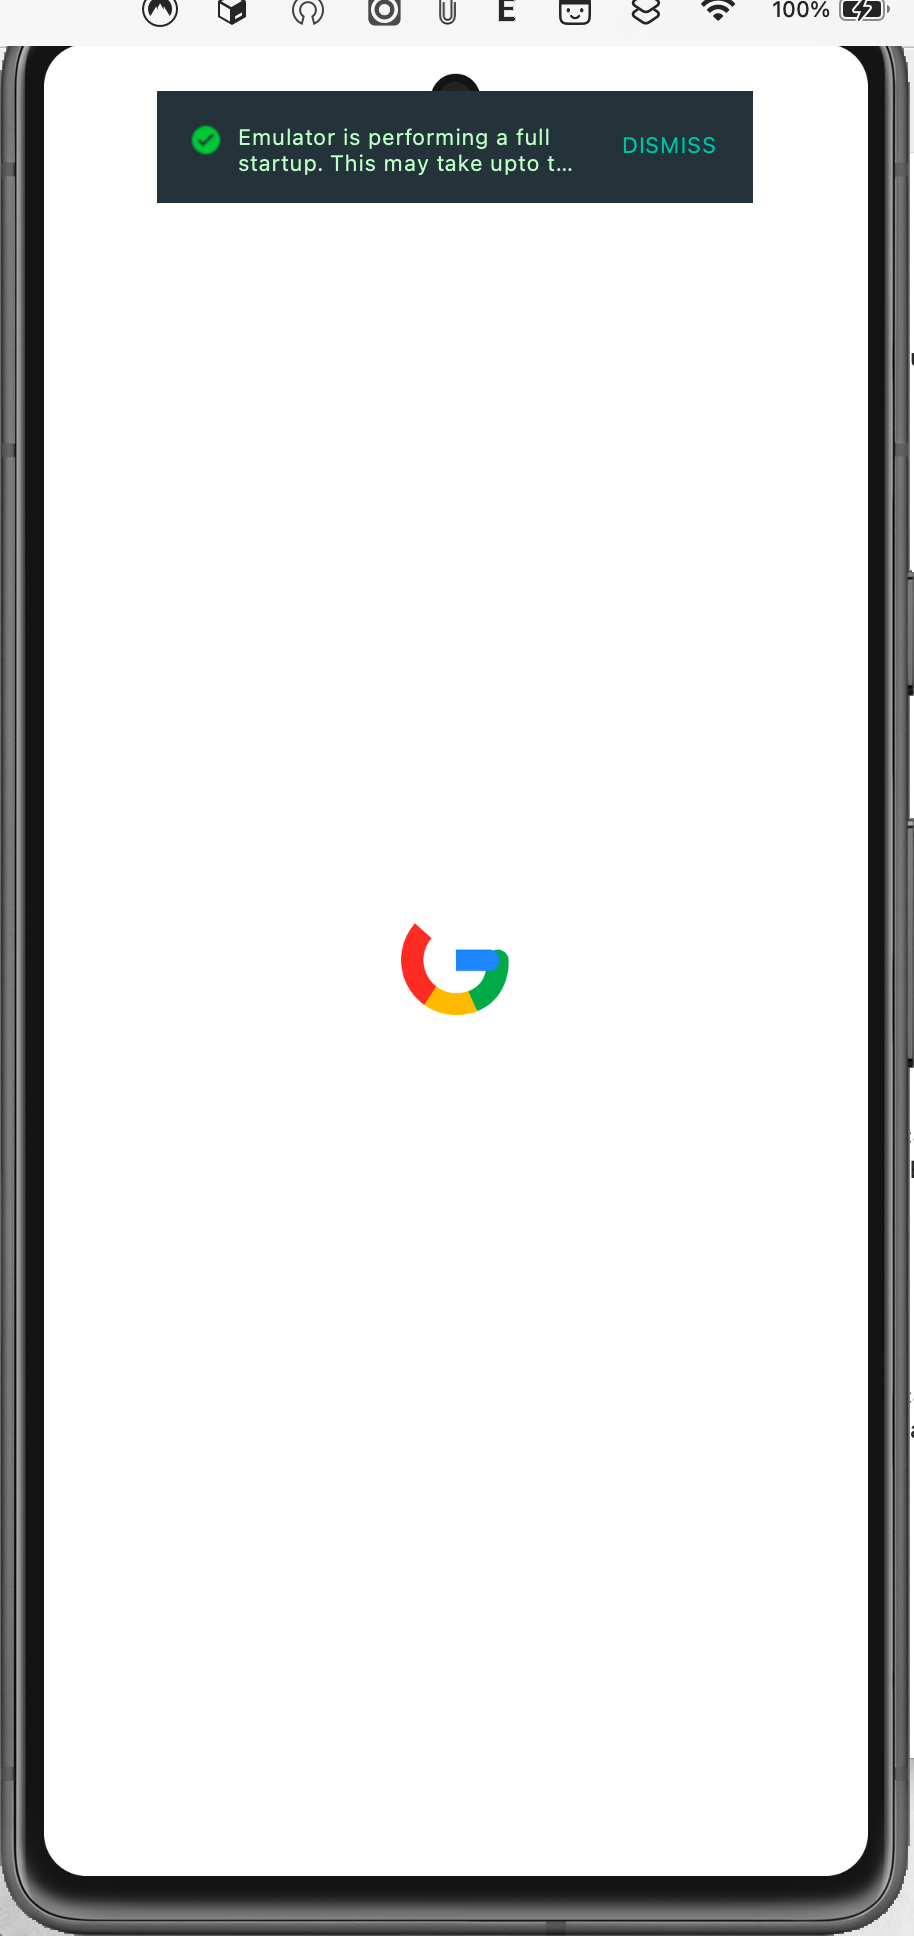
Magisk application should be installed successfully in your android device.
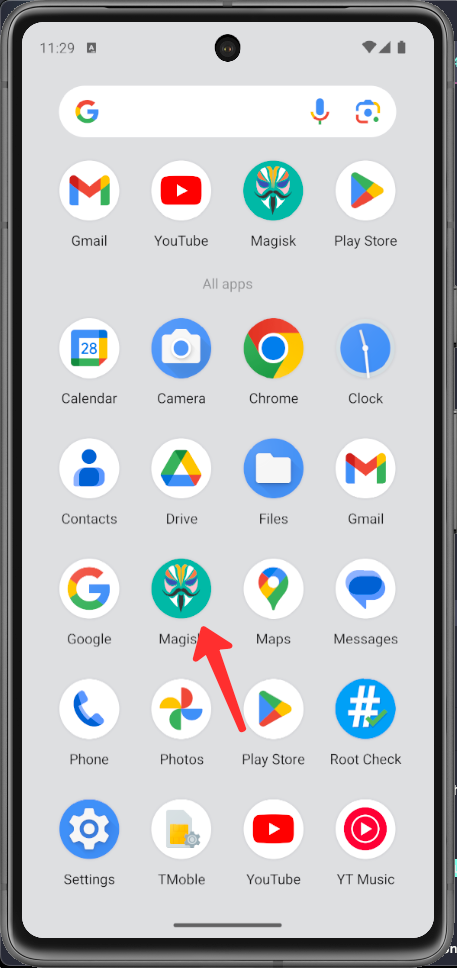
Step 5 - Open Magisk and Install the additional software
Open Magisk, We will be asked to install some additional set-up.
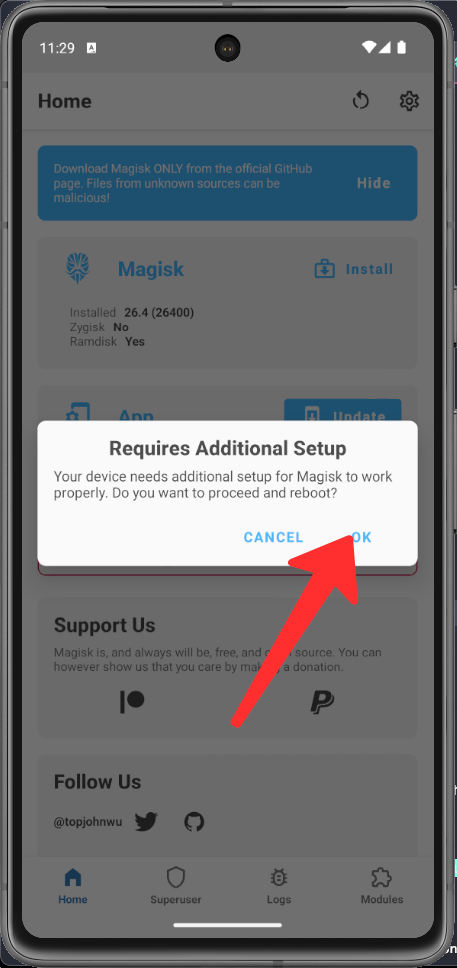
We choose yes, and your device will be rebooted.
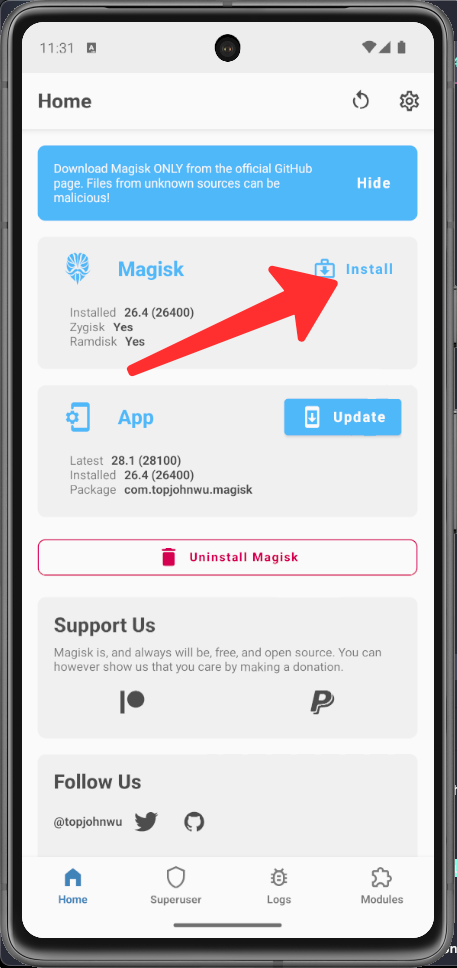
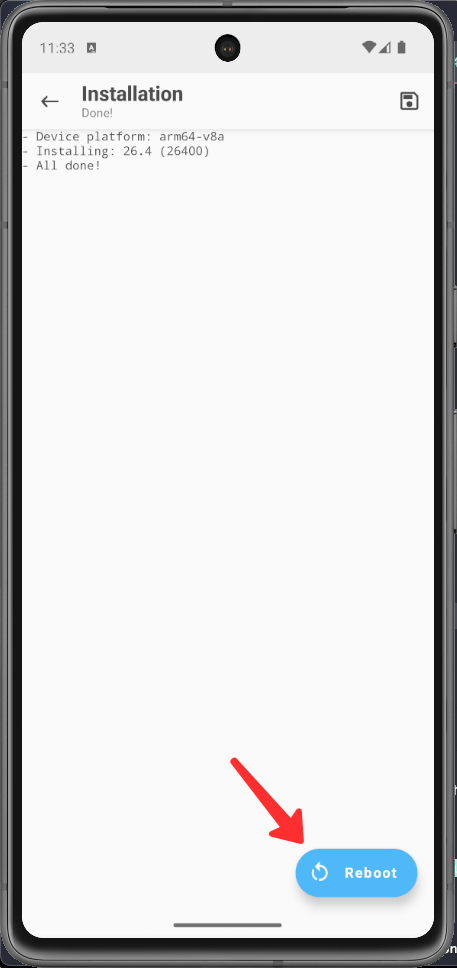
Open Magisk application again and click in Install button
Choose Direct install, and Tap on Let's go
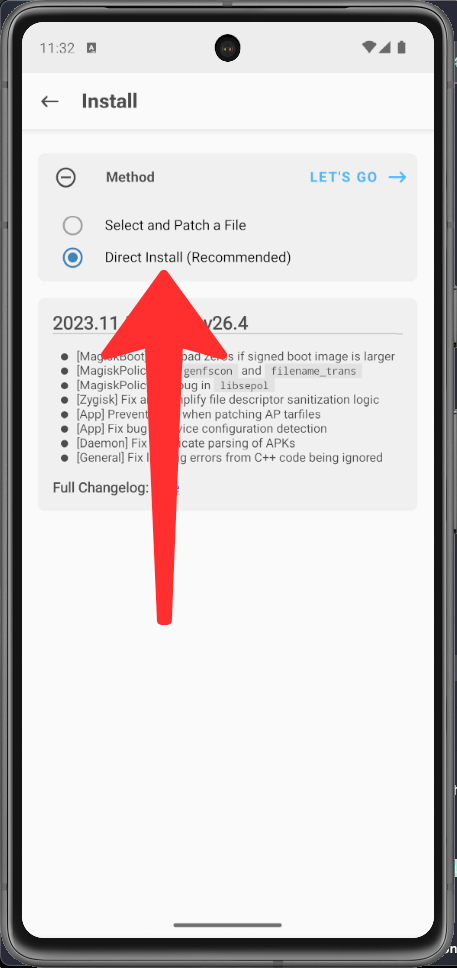
Tap on Reboot
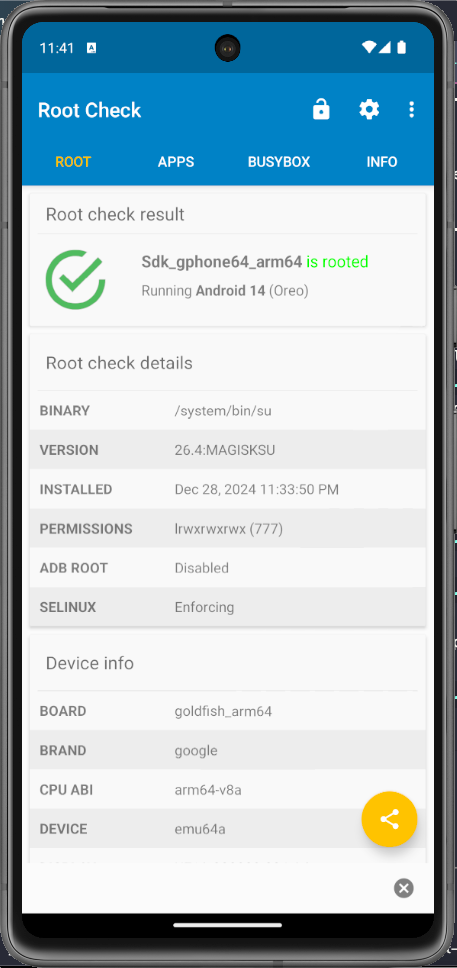
Step 6 - Open Root Check app and grant the permission
Open Root Check app, And Choose Grant button when be asked Grant or Deny access permission as a root user.
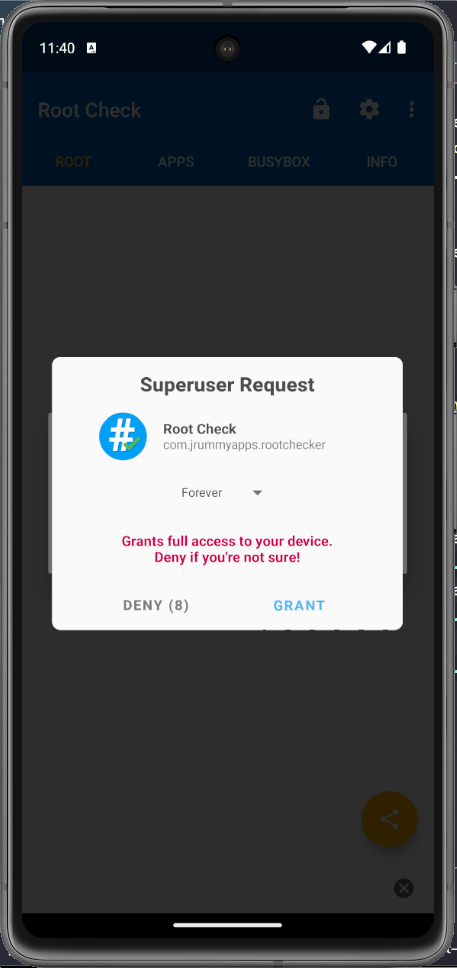
And now, you can see your device has the status: Rooted.