My Awesome Terminal on MacBook
Currently, I am using a MacBook Pro as my laptop for my daily work. And to make myself more comfortable in the working moment.
I have the habit of stimulating my brain to focus on my work. One of the ways, I usually use to decorate my workstation, and terminal on my MacBook helps me to do that.
My custom terminal should have:
- Attractive Interface
- Auto-Complete
This page was composed with the target to help me improve my writing skills and share you the way I configure my Terminal.
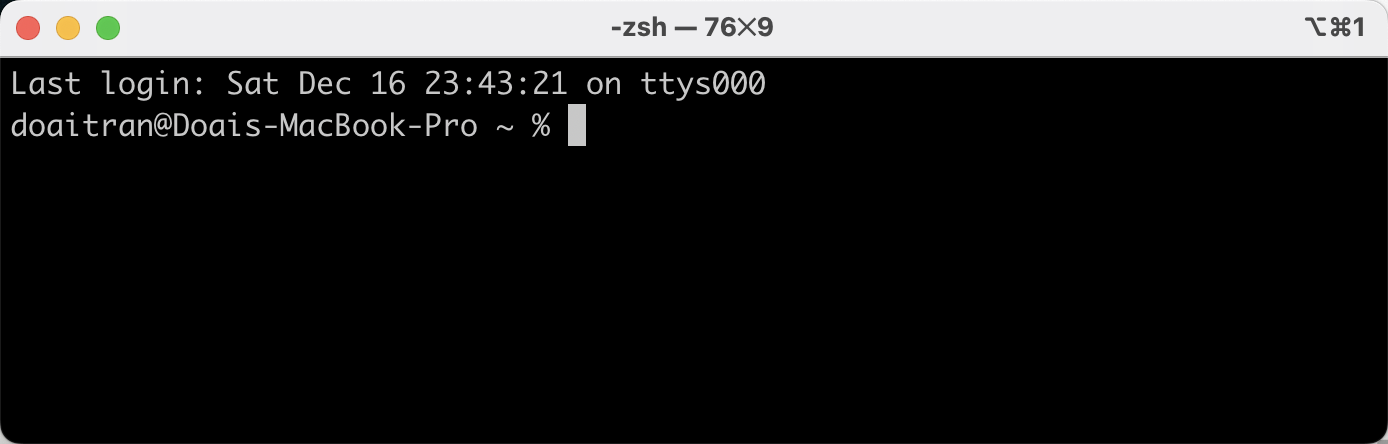
Instead of using the default Terminal on MacOSX, I installed Warp and use it in my Daily work.
Warp Link: You can refer to this link to download Warp application to replace default terminal:
Install these fonts:
Install and setup ~/.zshrc
Run this command to install ~/.zshrc
sh -c "$(curl -fsSL https://raw.githubusercontent.com/ohmyzsh/ohmyzsh/master/tools/install.sh)"
In cases, if you already configured your zshrc profile (For instance, you setup git/npm/python/java environment in your zshrc), you can get the message like:
“Found ~/.zshrc. Backing up to /Users/{your_profile}/zshrc.pre-oh-my-zsh Using the Oh My Zsh template file and adding it to ~/.shrc.”
It’s meant that your old zshrc profile was backed up to the new folder: zshrc.pre-oh-my-zsh
In order to keep the existing configuration, you can copy the value on zshrc.pre-oh-my-zsh to new ~/.zshrc
Install powerlevel10k
Run this command:
git clone --depth=1 https://github.com/romkatv/powerlevel10k.git ~/powerlevel10k
echo 'source ~/powerlevel10k/powerlevel10k.zsh-theme' >>~/.zshrc
Restart your terminal and warp application
You can restart your warp by: quite your warp and open it again.
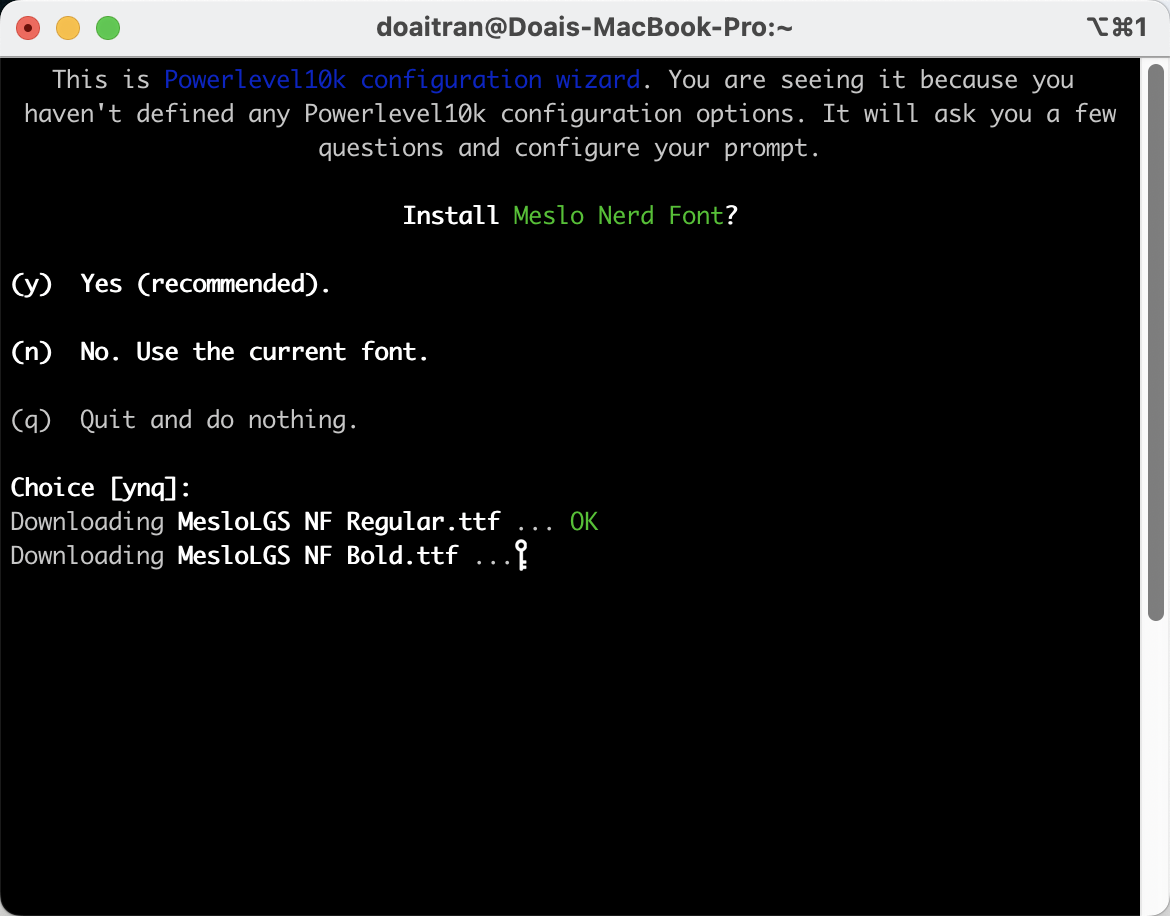
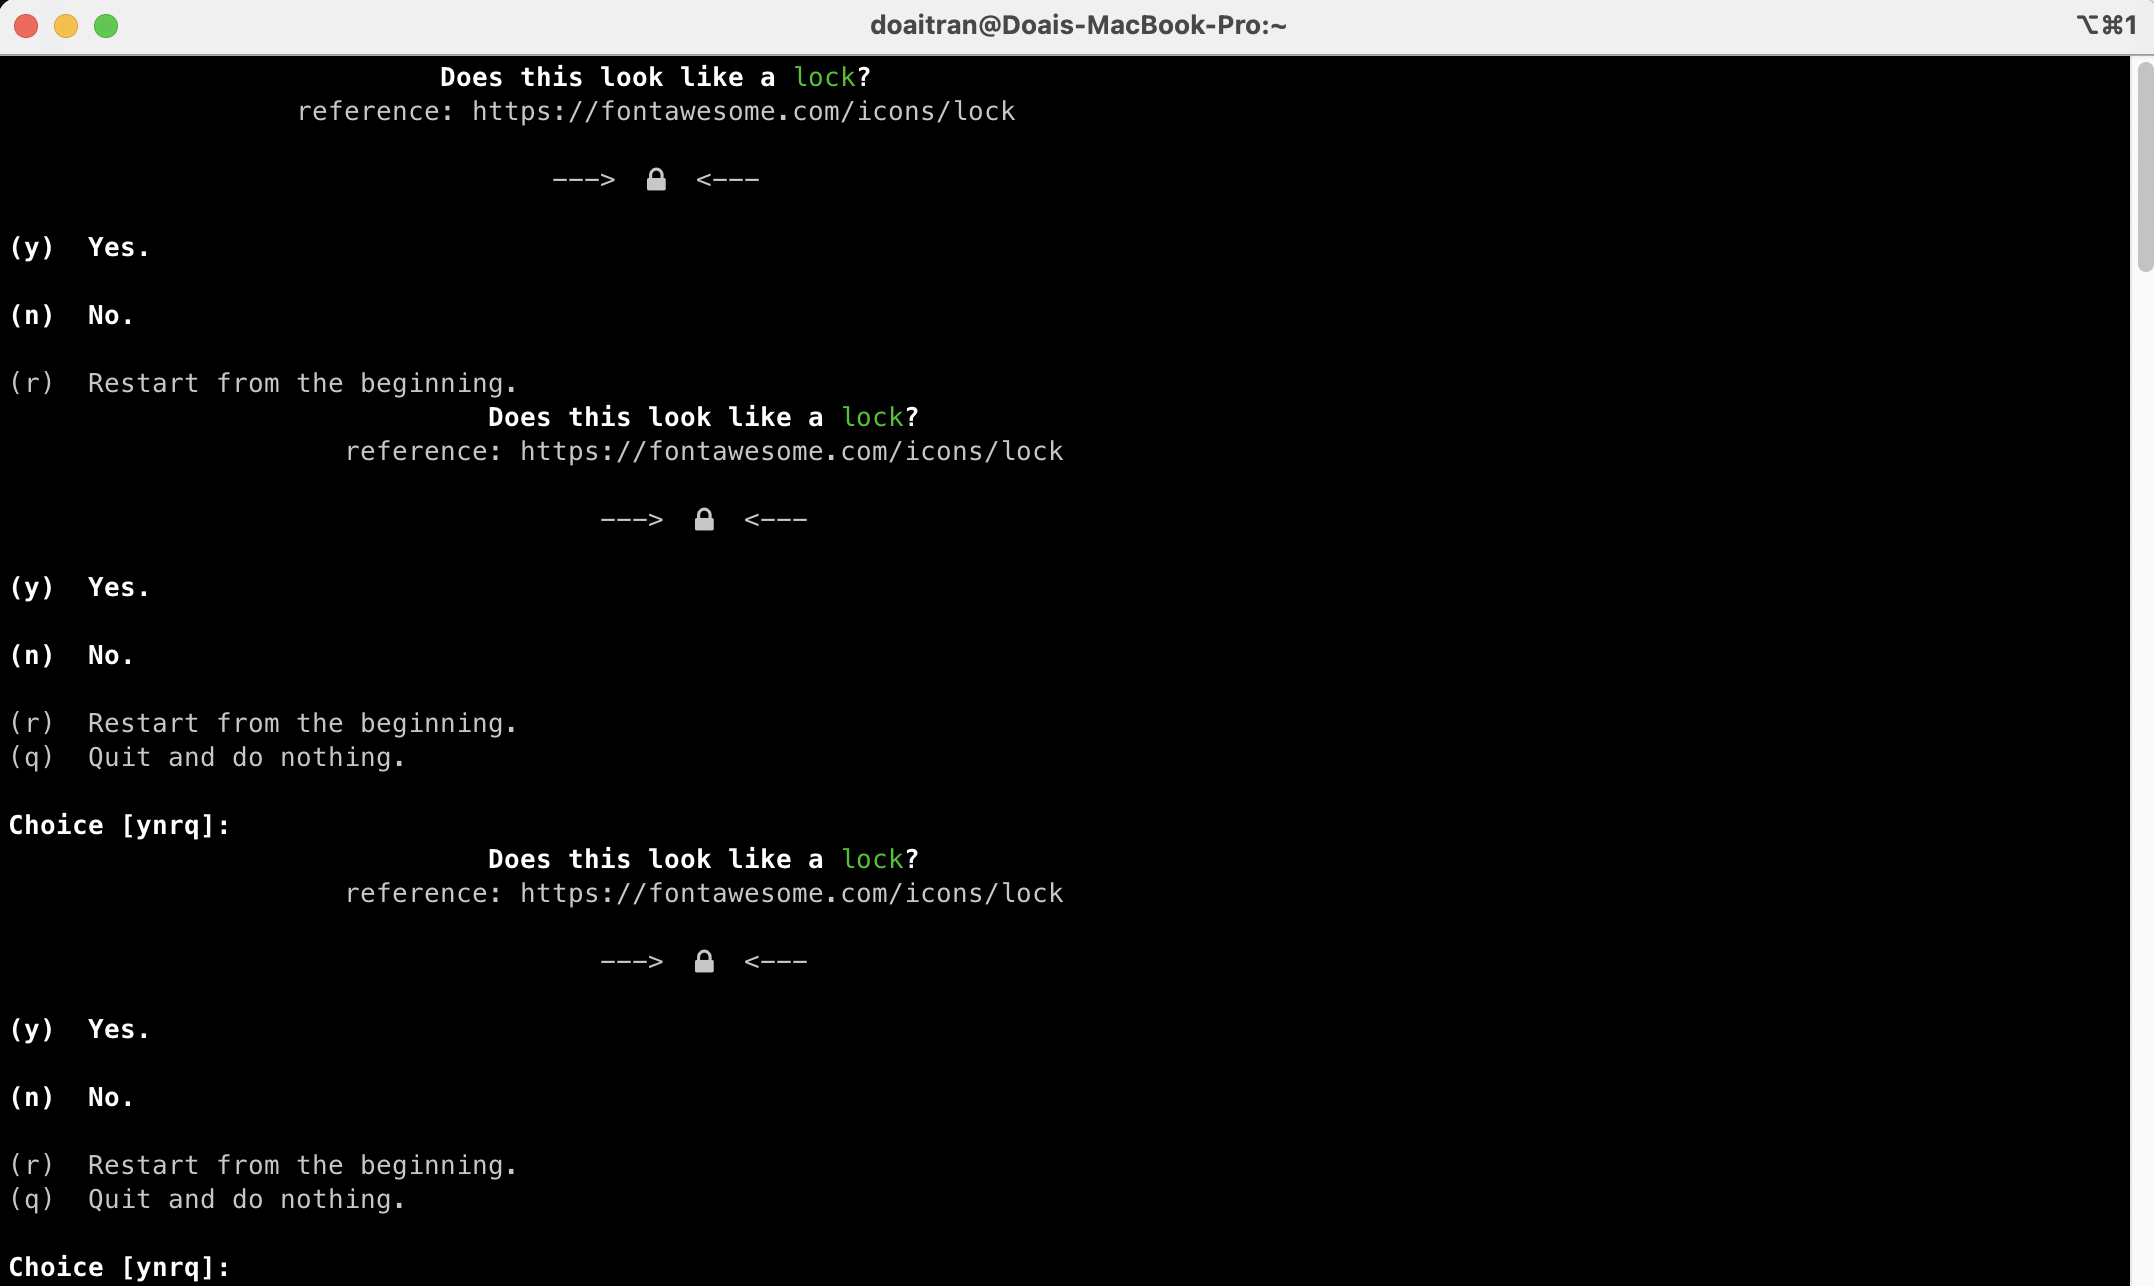
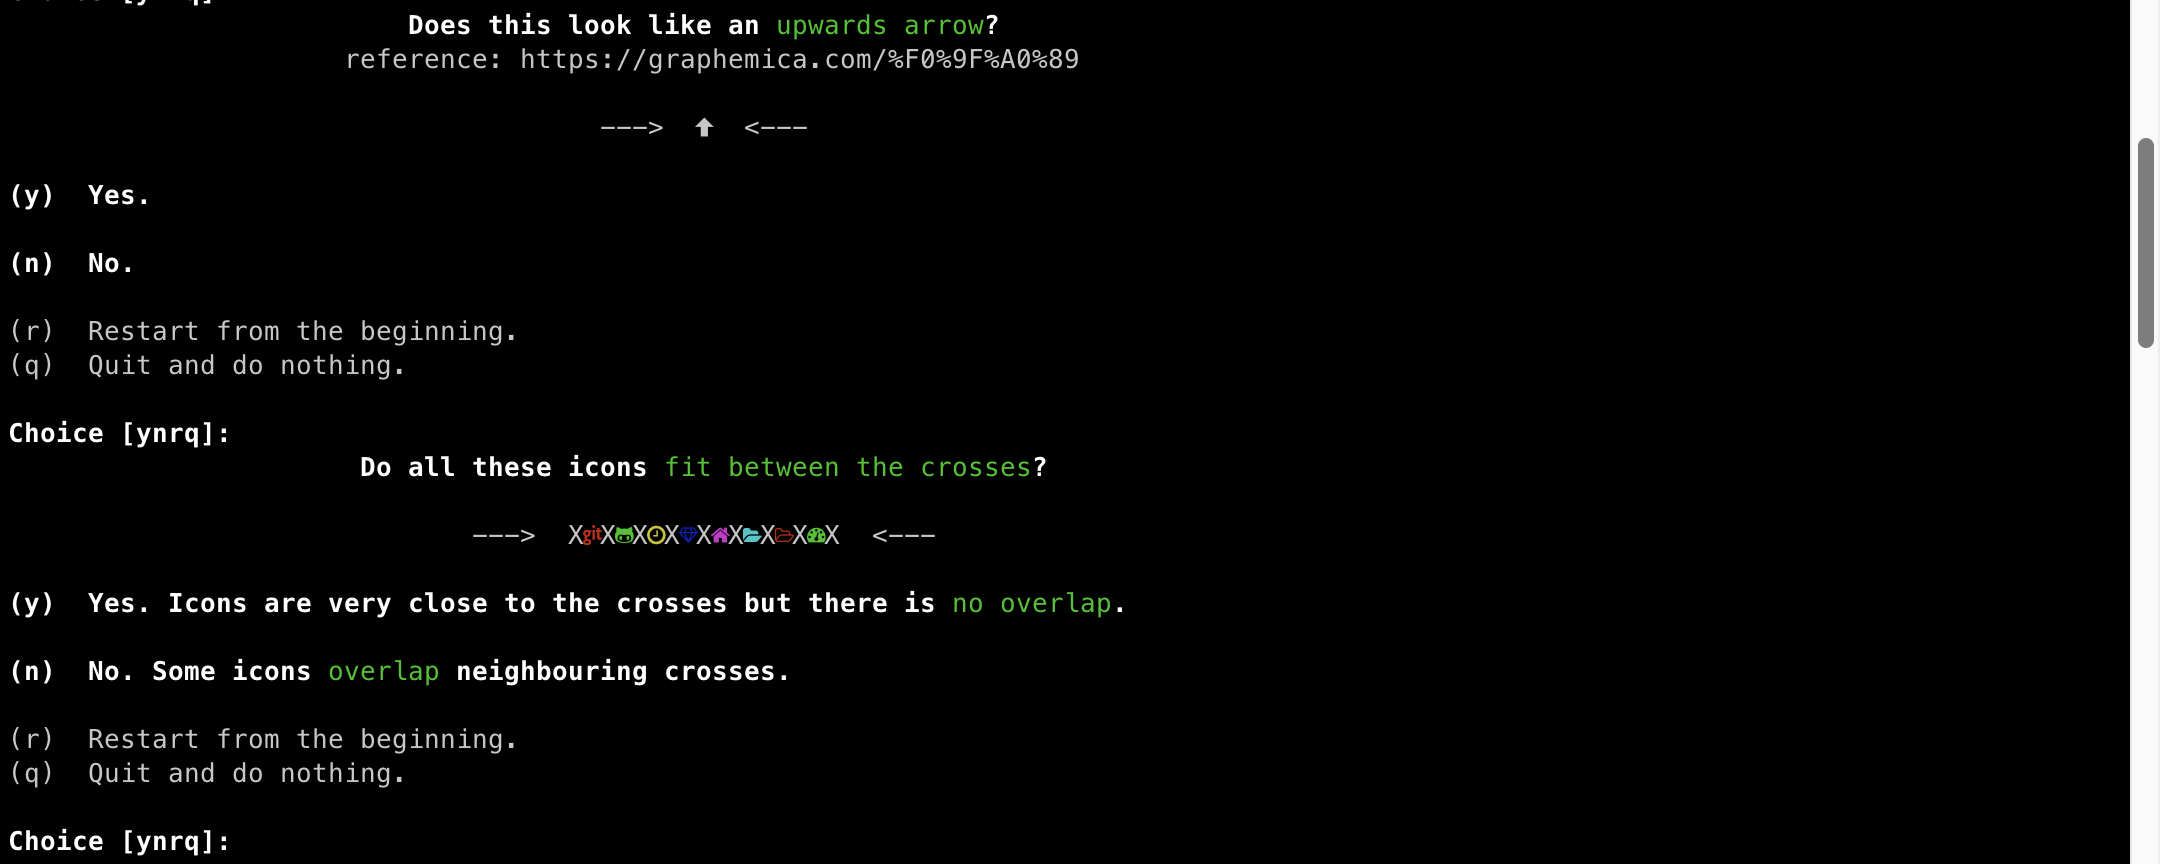
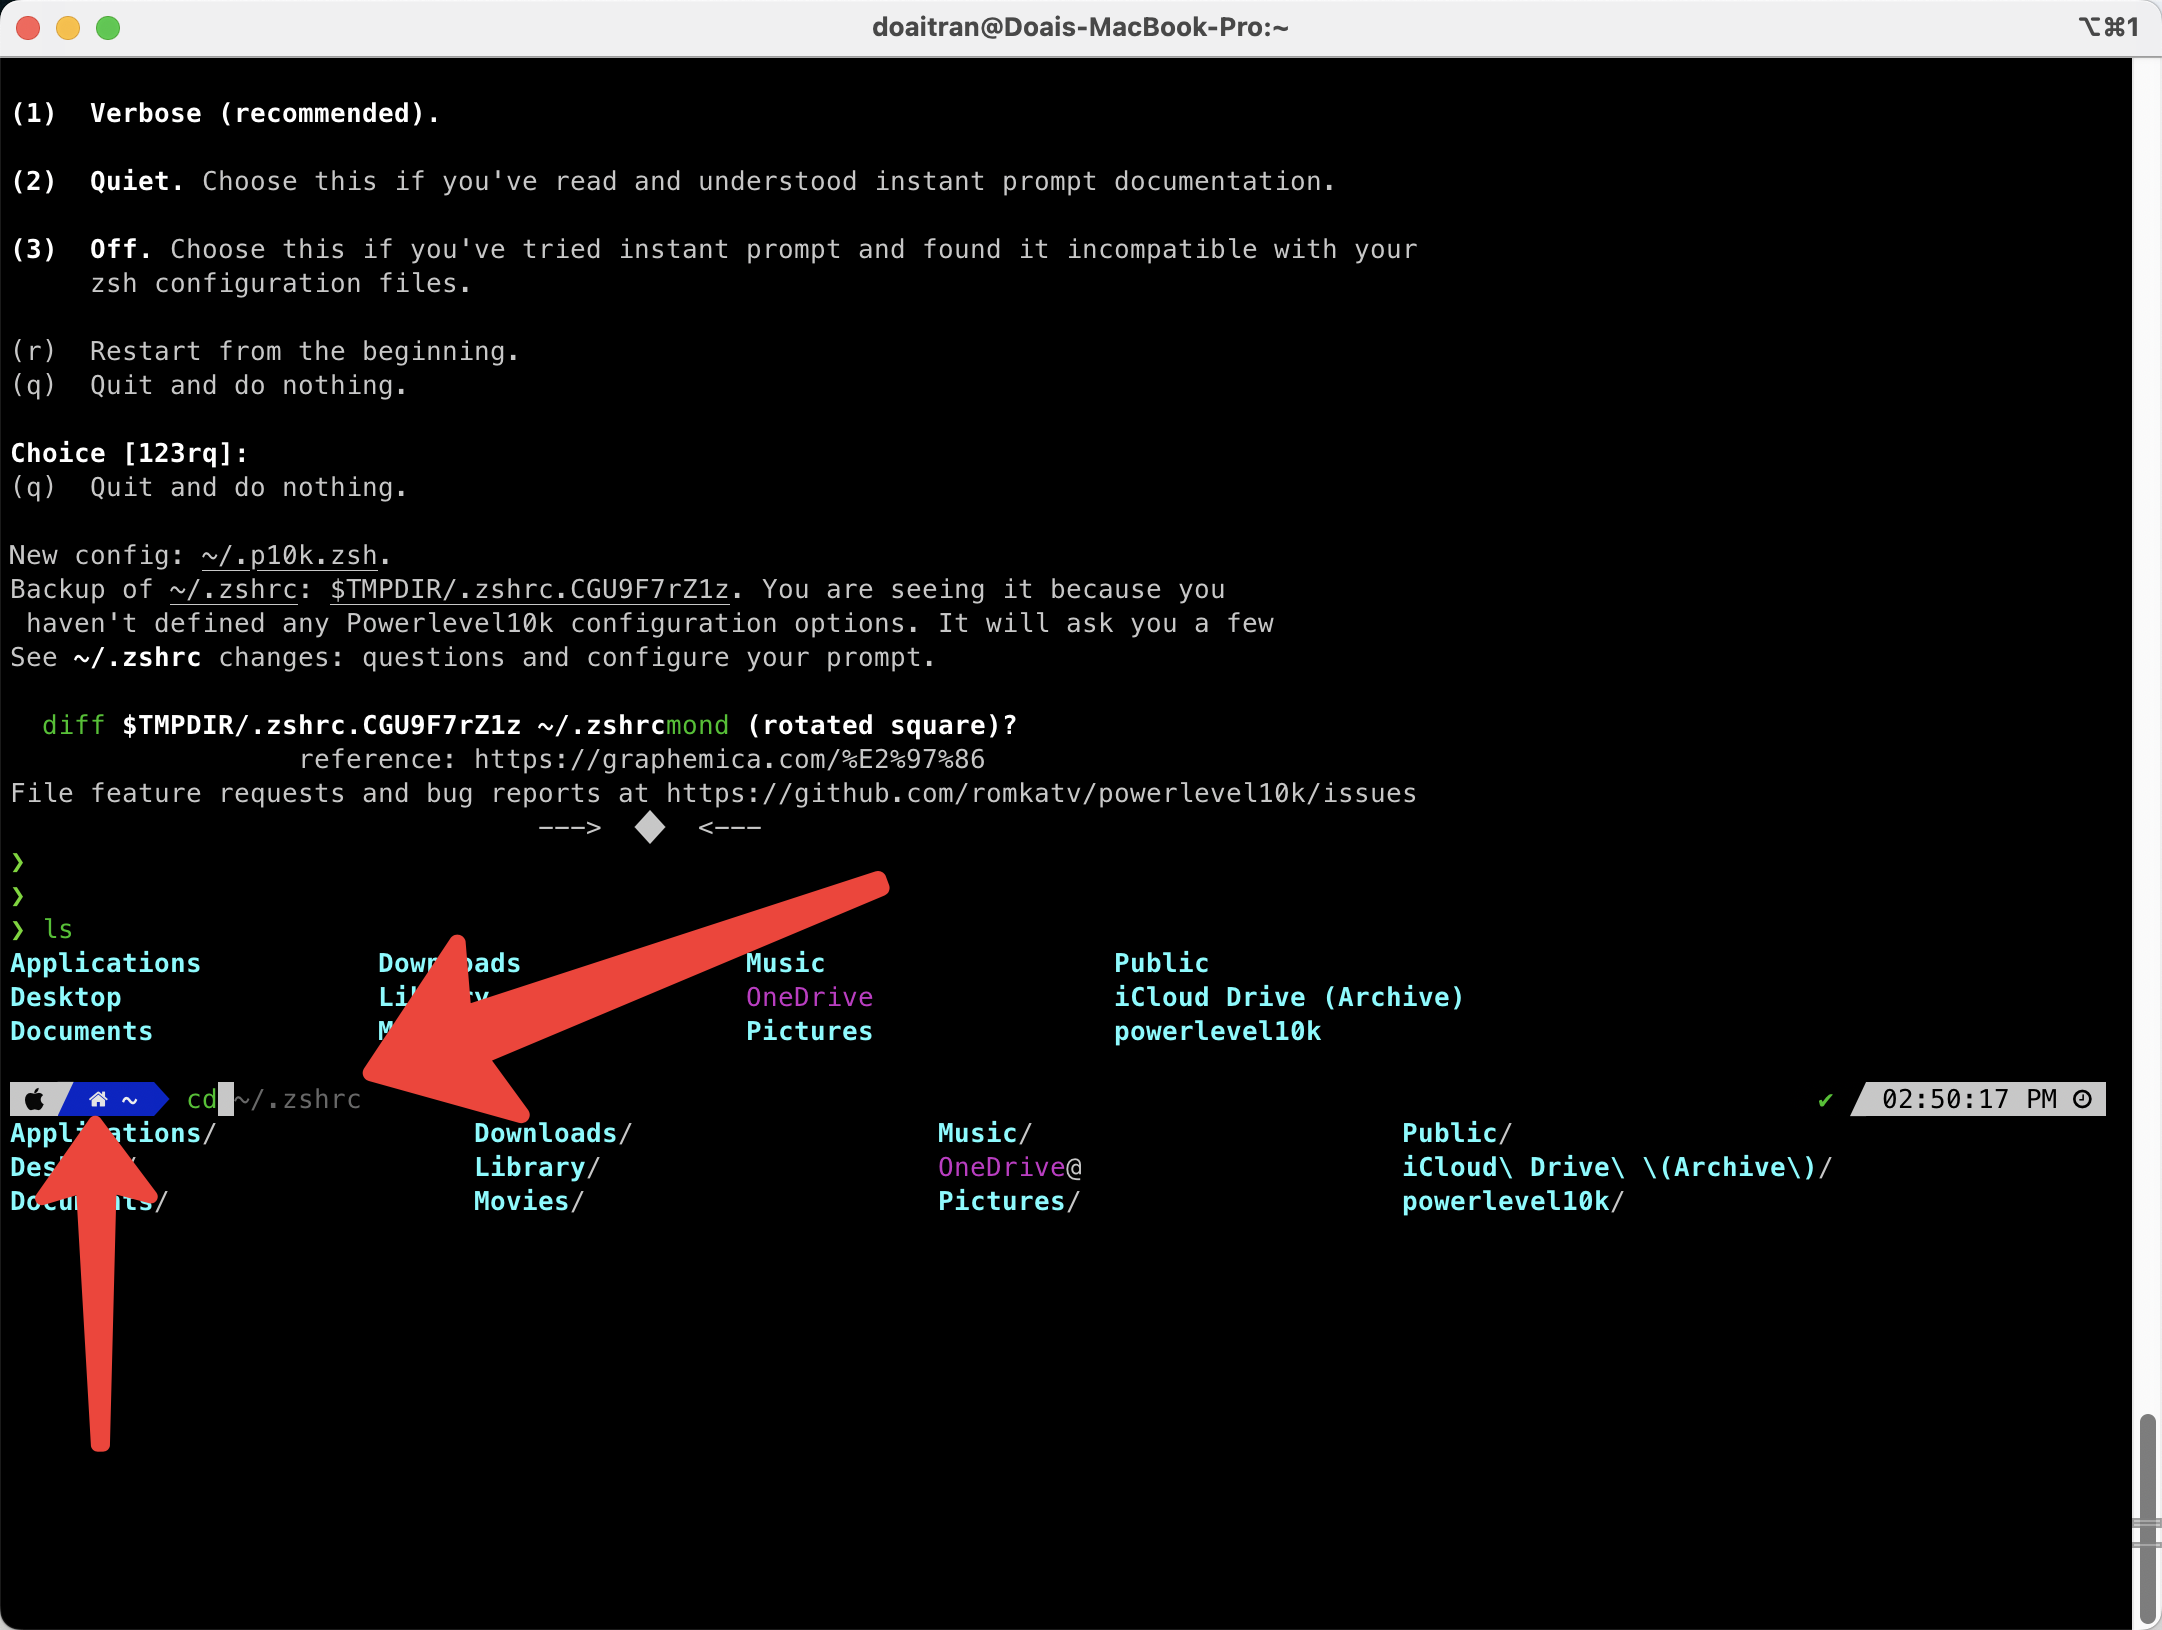
You can follow the setup wizard of powerlevel10k
- Select Yes to install more Font
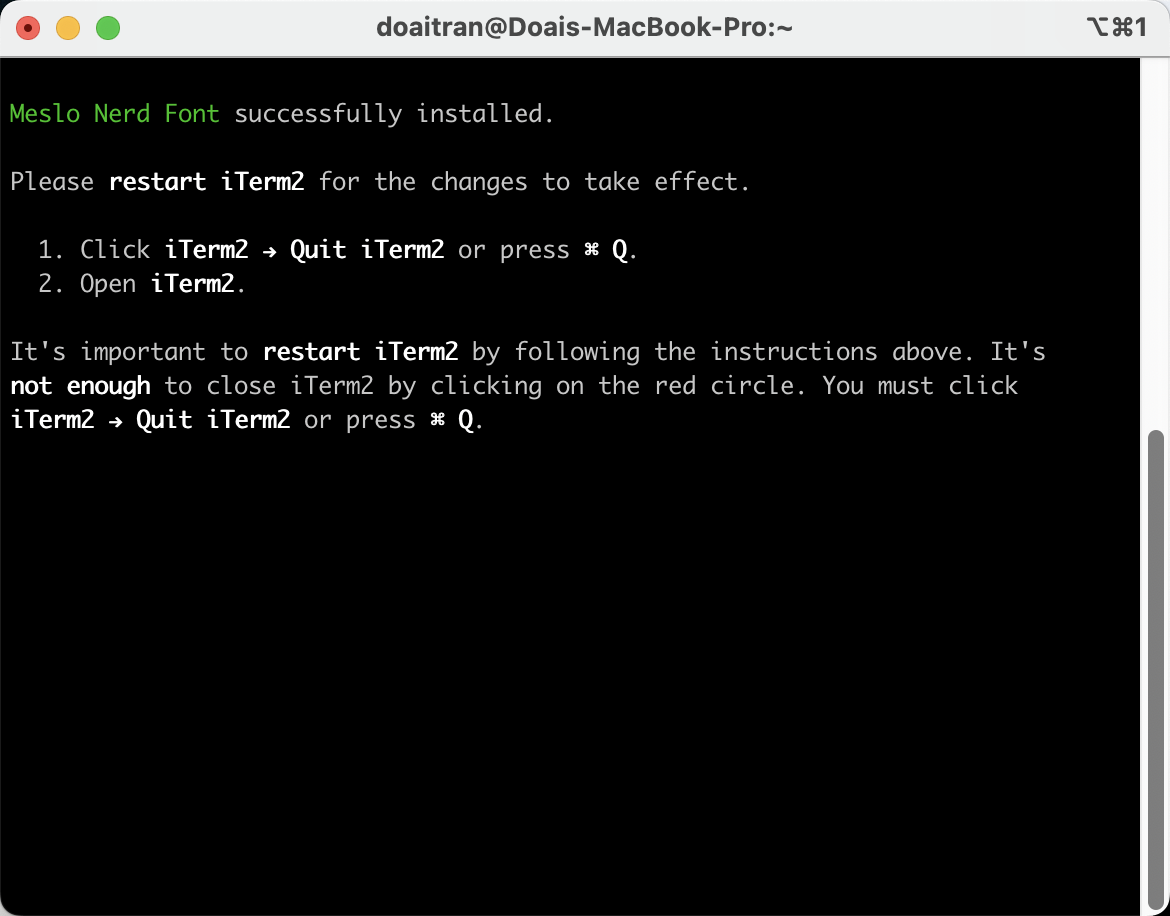
Follow the hint, we Quick your iTerm and open it again.
- After you open iterm2 again, you can see Setup Winzard and follow to choose proper options as below:
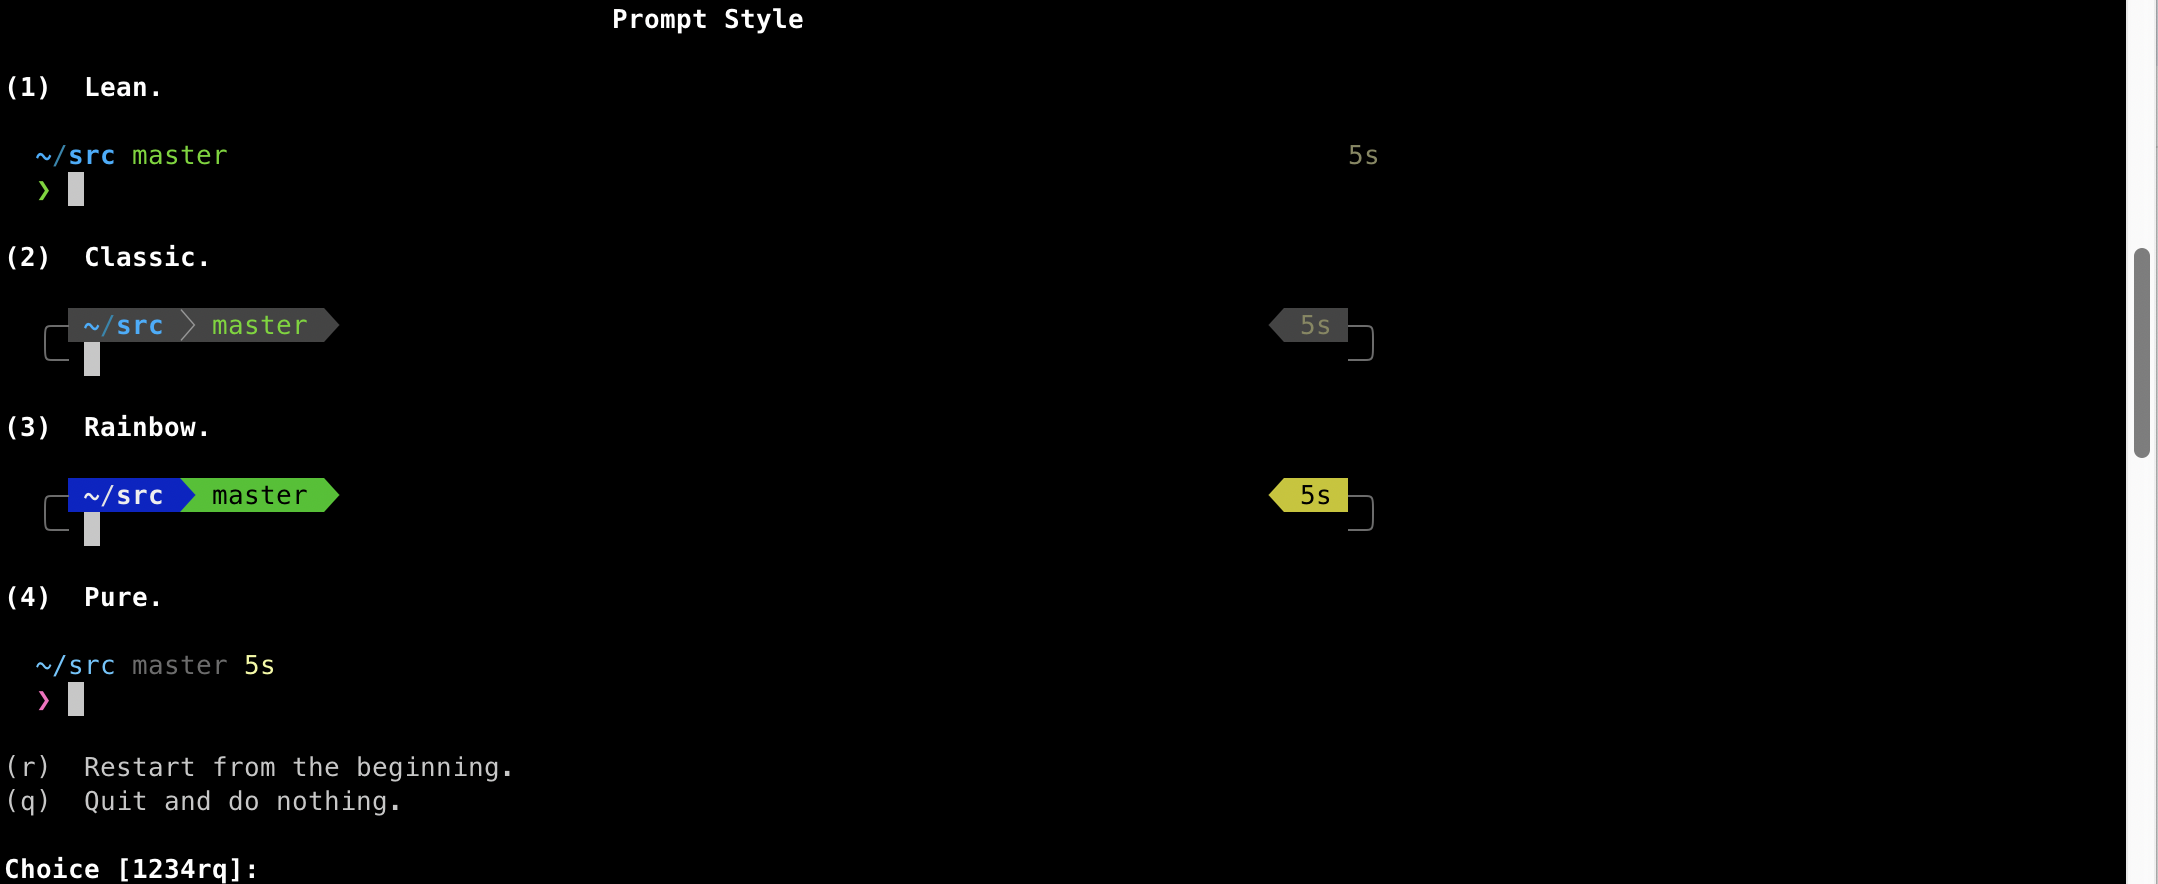
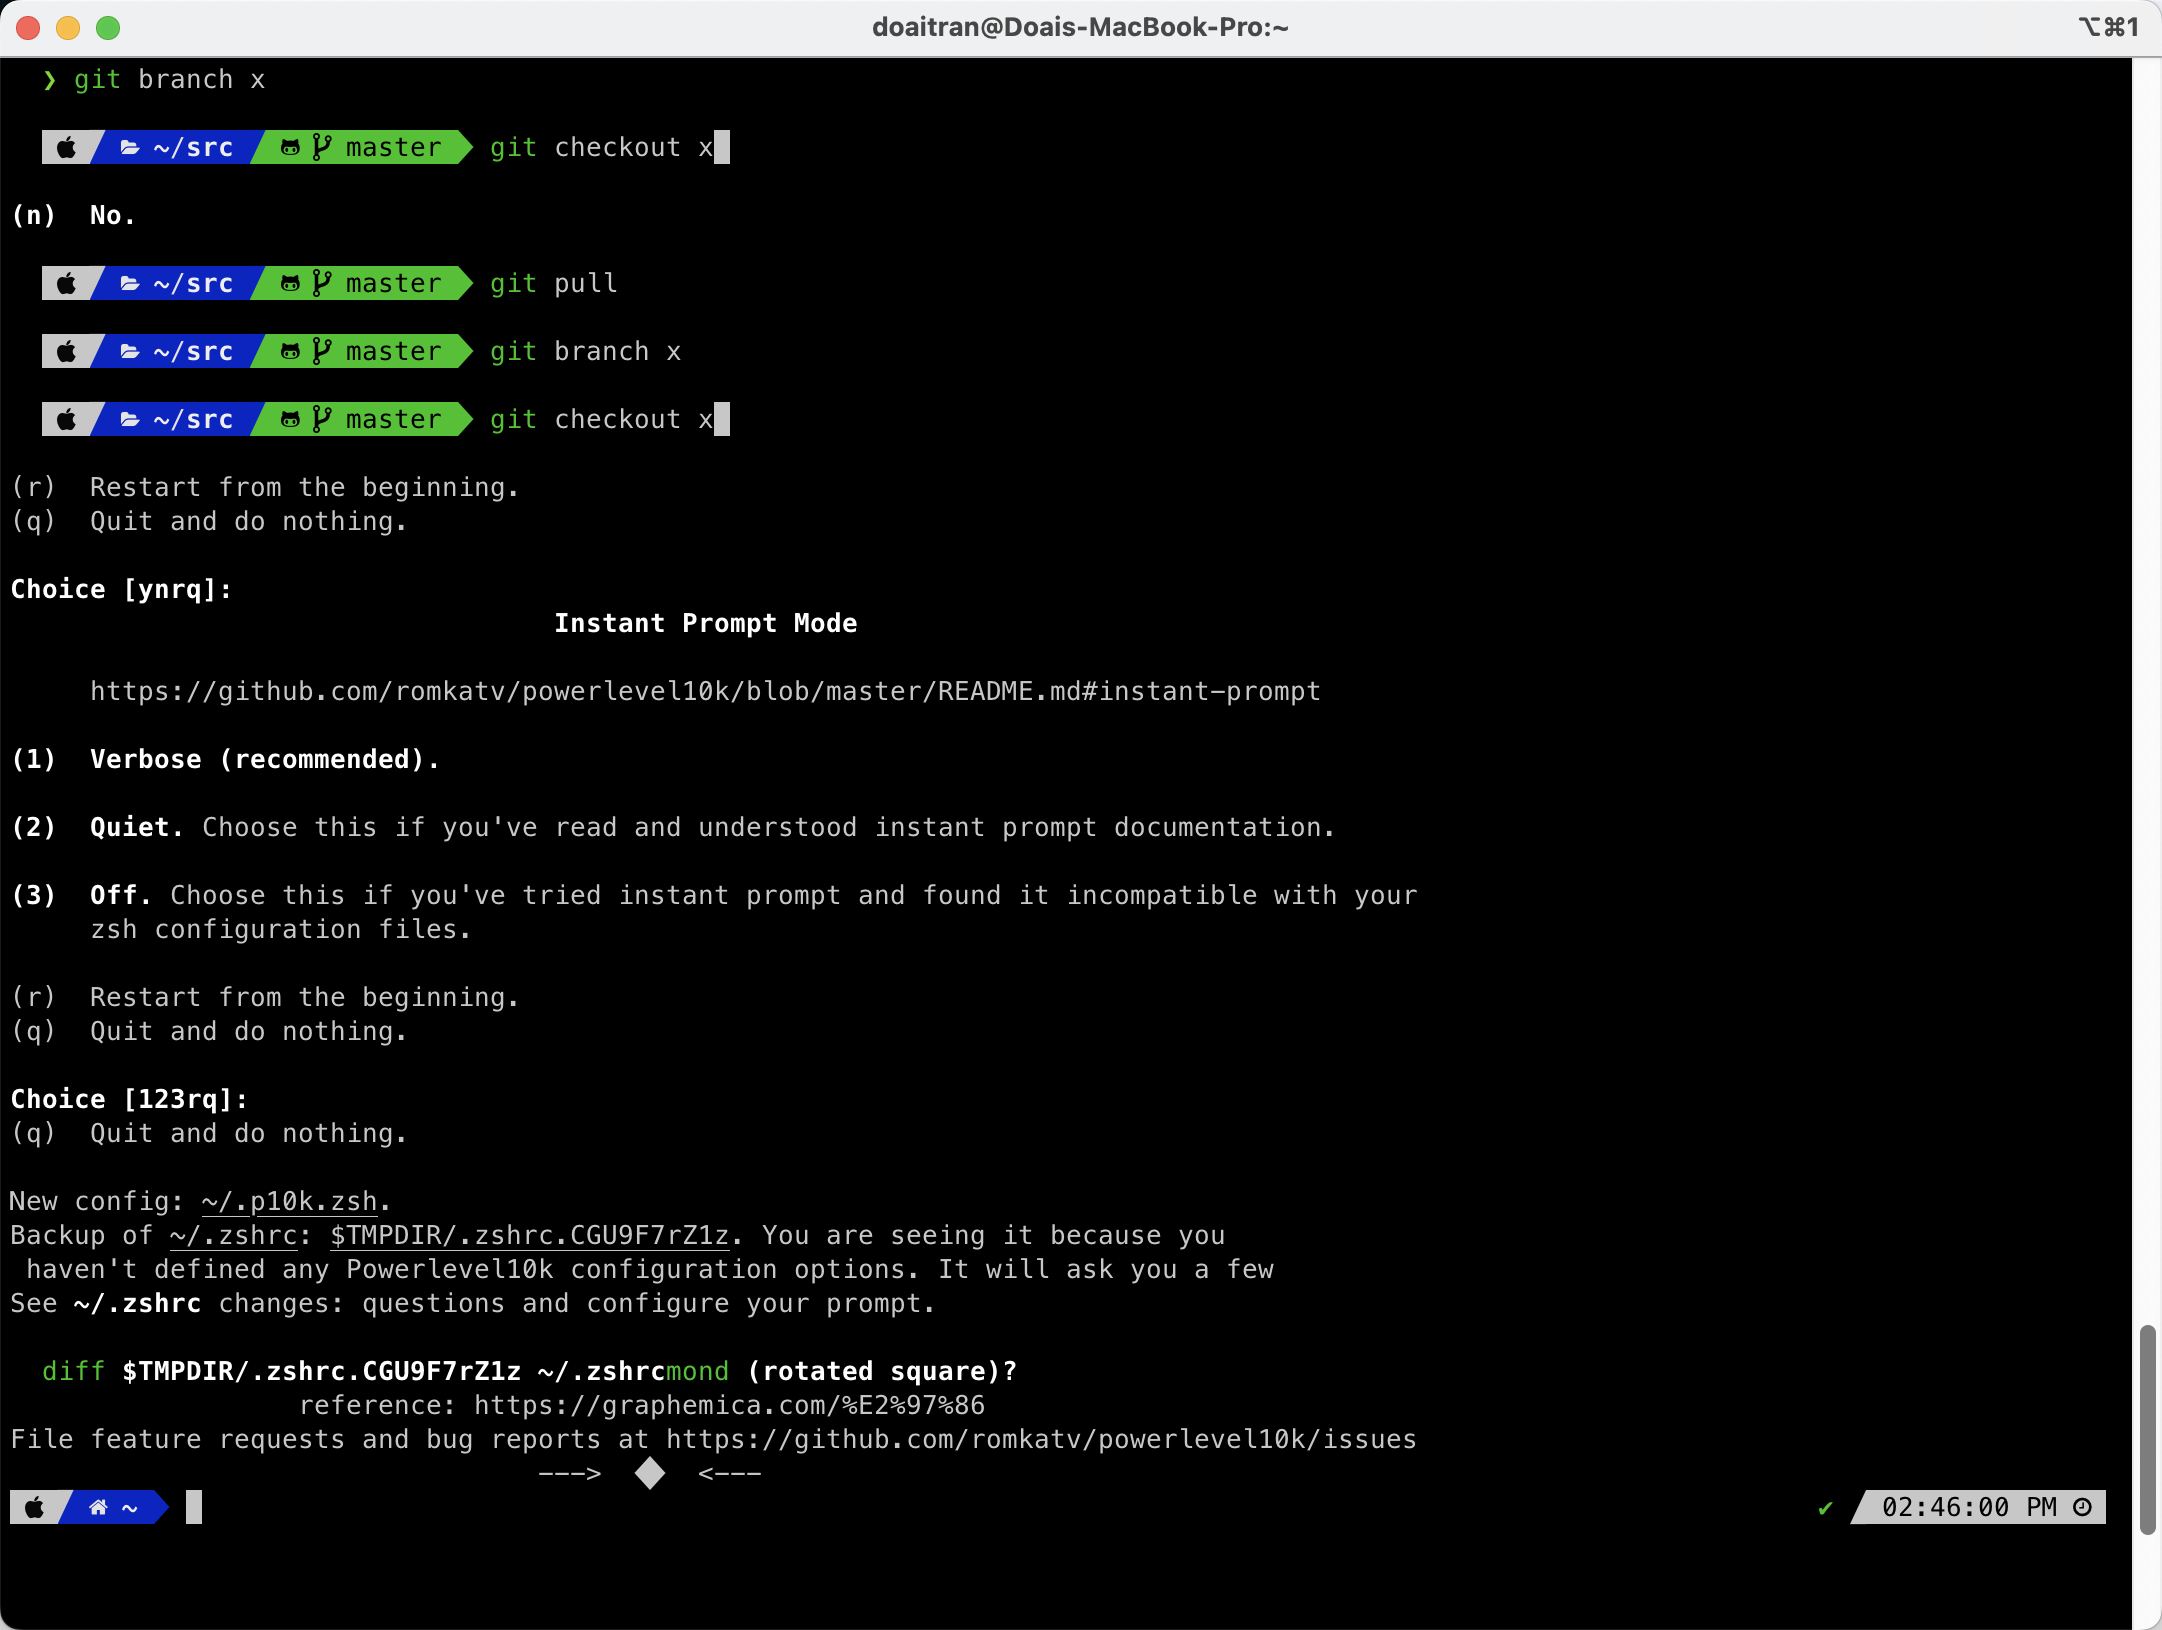
Then, you can see the result in your iterm2 like below:
Configure again your terminal
You can configure again your terminal setting by running this command:
p10k configure
And then you can follow the wizard to set up again the setting configuration on your terminal
— Copyright 2025 —
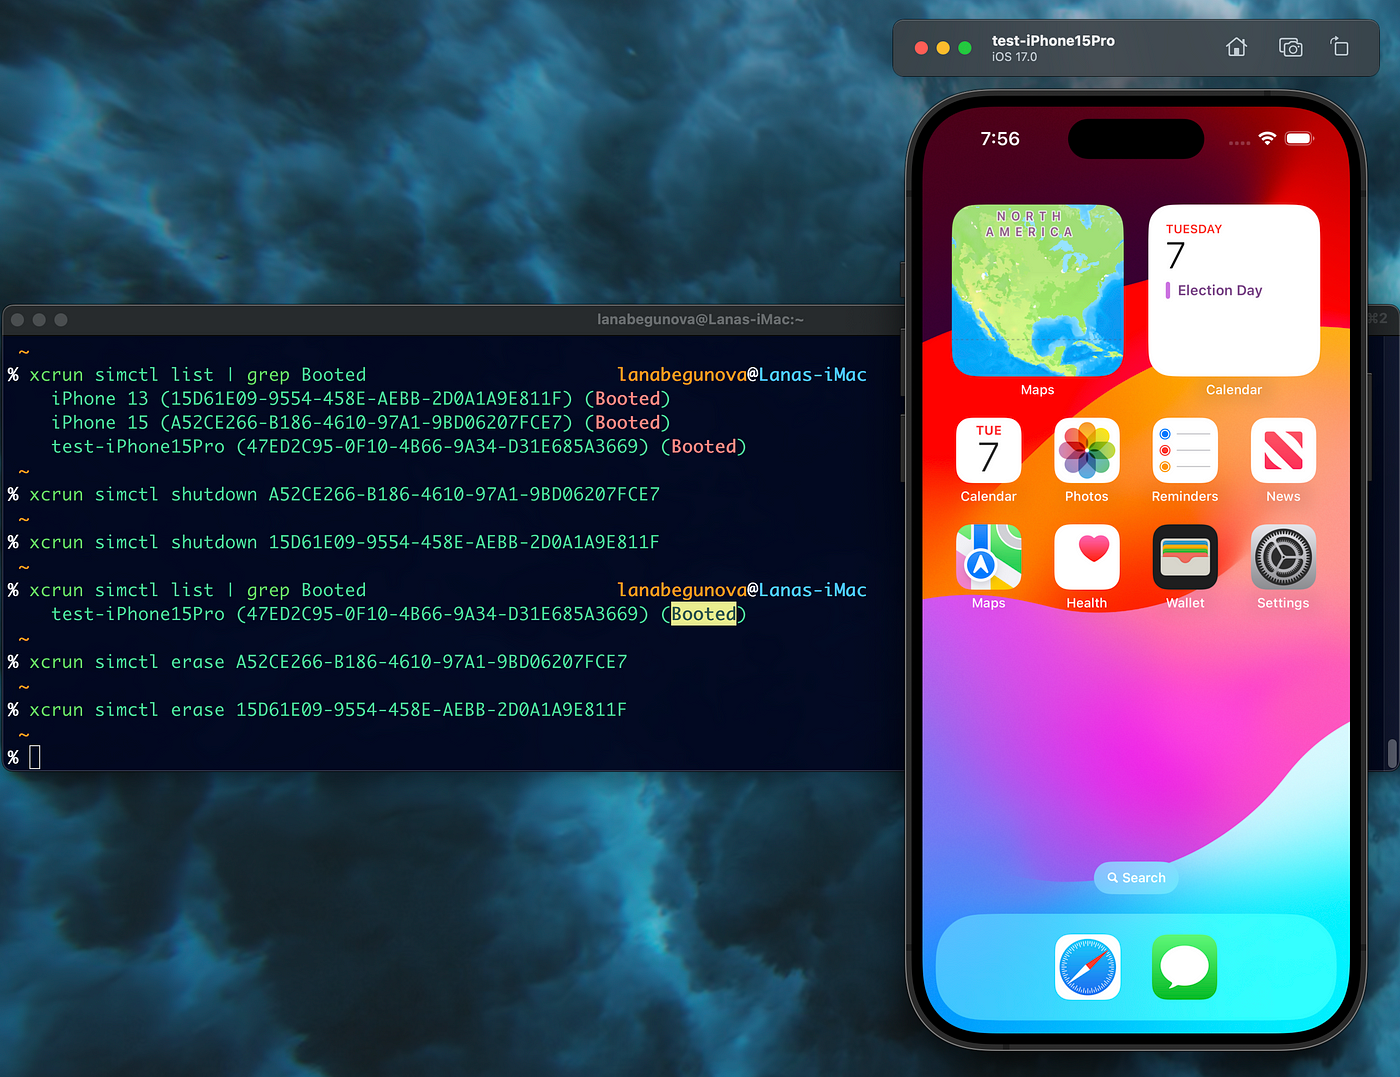 Use Xcrun Simctl command to control simulator