In this post, I would like to share the essential steps to install Java environment to whom the first time using MacOS or less technical guys: QA, Tester … especially who have more experience in using Windows more than using MacOsx. I tried to summarize the essential steps to be easy to follow and configure Java environment.
Install the Java Version into your MacOSX
There are 2 main ways to install Java in your MacOSX
- Using HomeBrew
- Using DMG file
Using HomeBrew via Termnial
- What is HomeBrew: https://brew.sh/
- The first steps, you have to install and setup HomeBrew, by run this command on
/bin/bash -c "$(curl -fsSL https://raw.githubusercontent.com/Homebrew/install/HEAD/install.sh)"
Above command requires the root access permission, you input the root password to complete the installation.
- Run this command to install Java version
You select the proper version of Java that you are expecting to install
Example:
Java 17: brew install openjdk@17
Java 11: brew install openjdk@11
Java 8: brew install openjdk@8
Note: Java source that We will install in your MacOXS machine will come from OpenJDK
Using DMG file
Download Java version DMG file from Oracle
To download from Oracle, you must have the Oracle account, the steps to register an Oracle account is so simplify. you can follow the wizard from Oracle site to complete the registration.
Here is the summarized information about Java downloadable link order by version and resources:
| Version | Oracle for Chip Intel | For Chip ARM M1 |
|---|---|---|
| 8 | Link | Here |
| 11 | Here | Here |
| 17 | Here | Here |
| 21 | Here | Here |
Download and install all version that you expect to have in your machine
Configure multiple Java versions
Now, we will go tho next part, when we expect on our MacOXS machine (MacBook, Mac Mini, …) to have more than 1 Java version and configure which version is active on your terminal profile (~/.zshrc, ~/.bash_profile, ~/.zprofile)
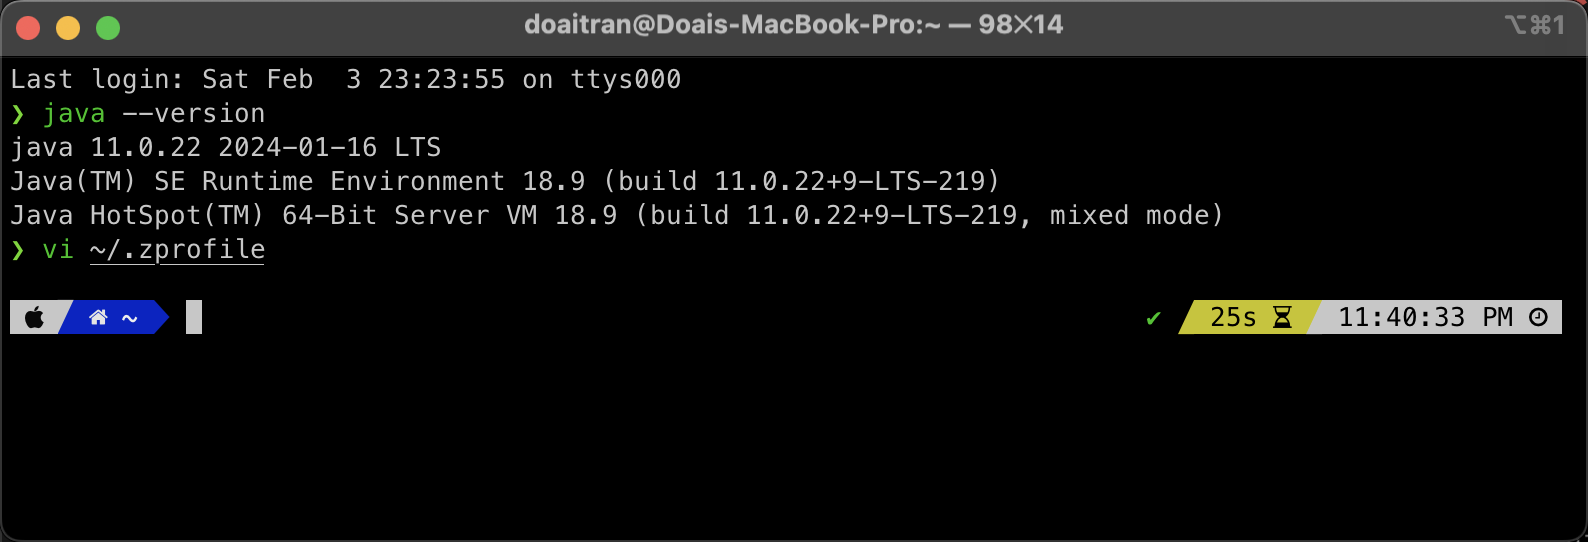
- Check which Java version is active by the basic command on your terminal:
java --version
❯ java --version
java 11.0.21 2023-10-17 LTS
Java(TM) SE Runtime Environment 18.9 (build 11.0.21+9-LTS-193)
Java HotSpot(TM) 64-Bit Server VM 18.9 (build 11.0.21+9-LTS-193, mixed mode)
- Check all versions are already installed on my Machine:
/usr/libexec/java_home -V
Example:
❯ /usr/libexec/java_home -V
Matching Java Virtual Machines (5):
    17.0.10 (arm64) "Oracle Corporation" - "Java SE 17.0.10" /Library/Java/JavaVirtualMachines/jdk-17.jdk/Contents/Home
    11.0.22 (arm64) "Oracle Corporation" - "Java SE 11.0.22" /Library/Java/JavaVirtualMachines/jdk-11.jdk/Contents/Home
    1.8.401.10 (arm64) "Oracle Corporation" - "Java" /Library/Internet Plug-Ins/JavaAppletPlugin.plugin/Contents/Home
    1.8.0_401 (arm64) "Oracle Corporation" - "Java SE 8" /Library/Java/JavaVirtualMachines/jdk-1.8.jdk/Contents/Home
    1.8.0_202 (x86_64) "Oracle Corporation" - "Java SE 8" /Library/Java/JavaVirtualMachines/jdk1.8.0_202.jdk/Contents/Home
- To active a Java version when you are working on
- Terminal, run this command
export JAVA_HOME=`/usr/libexec/java_home -v {version}`
Example
- Current active Java version
❯ java --version
java 11.0.22 2024-01-16 LTS
Java(TM) SE Runtime Environment 18.9 (build 11.0.22+9-LTS-219)
Java HotSpot(TM) 64-Bit Server VM 18.9 (build 11.0.22+9-LTS-219, mixed mode)
- Change to Java 17, with this command
export JAVA_HOME=`/usr/libexec/java_home -v 17.0.10`
- Run again to check Java version is active
❯ java --version
java 17.0.10 2024-01-16 LTS
Java(TM) SE Runtime Environment (build 17.0.10+11-LTS-240)
Java HotSpot(TM) 64-Bit Server VM (build 17.0.10+11-LTS-240, mixed mode, sharing)
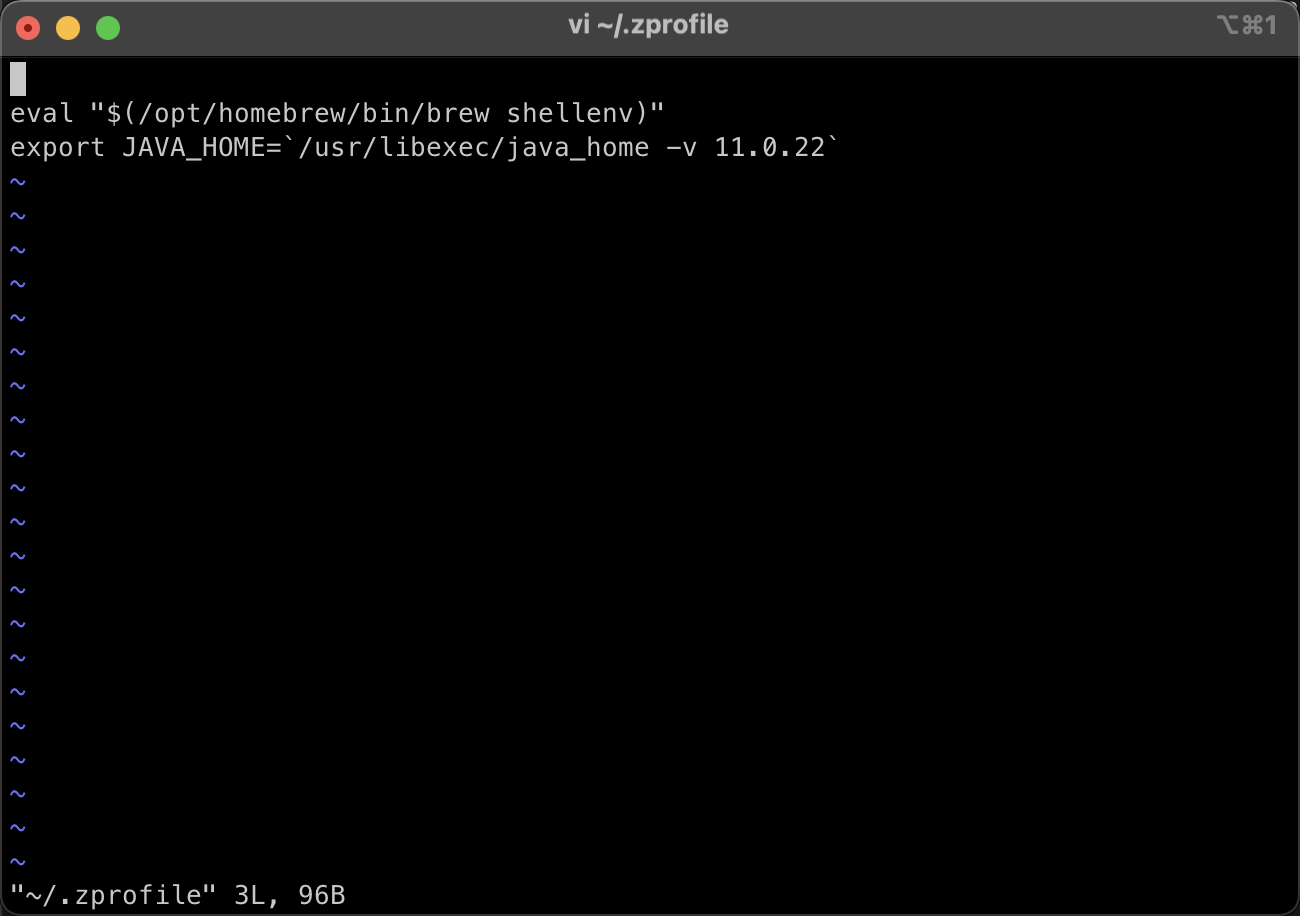
To configure Java version on your terminal profile, You open your terminal profile and add this statement
export JAVA_HOME=`/usr/libexec/java_home -v {version}`
For example, I configure on my zprofile as below:
How we configure on Windows: https://www.happycoders.eu/java/how-to-switch-multiple-java-versions-windows/
— Copyright 2024 —
 Install more missing fonts by Maven plugin or Java Method